Hey there! I'm a supplier of exterior molding, and I'm stoked to share with you how to install exterior molding on a stone wall. It's a great way to add some style and protection to your home's exterior. So, let's dive right in!
Step 1: Gather Your Materials
First things first, you'll need to gather all the materials you'll need for the job. Here's a list of what you'll typically need:
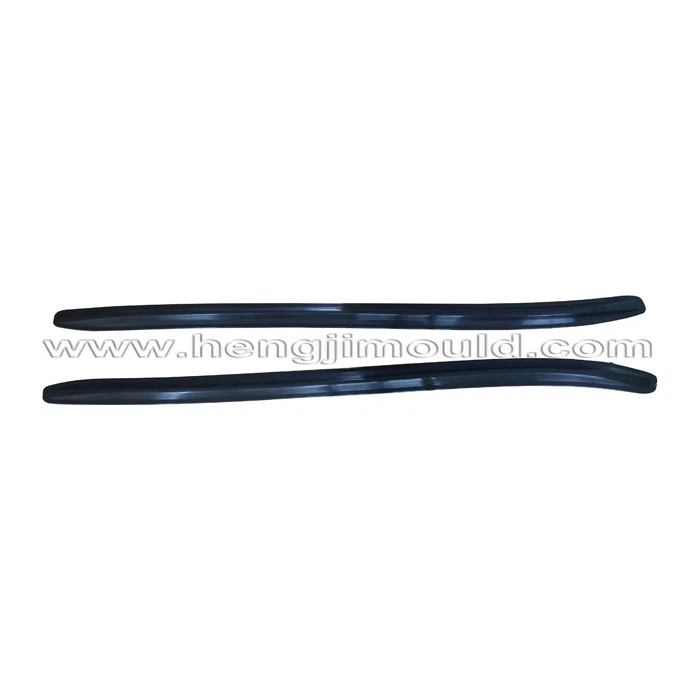
- Exterior molding: We offer a wide range of options, like Plastic Side Skirt Trim Moulding, Rear View Mirror Mould, and Roof Molding Mould.
- Measuring tape: To measure the length of the wall and the molding pieces.
- Utility knife: For cutting the molding to the right size.
- Caulk gun: To apply caulk for a watertight seal.
- Silicone caulk: Make sure it's suitable for exterior use.
- Screwdriver or drill: Depending on the type of molding and how you'll be attaching it.
- Screws or nails: The right size for your molding and wall.
- Level: To ensure the molding is straight.
Step 2: Measure the Wall
Once you've got all your materials, it's time to measure the wall where you'll be installing the molding. Use your measuring tape to get the length and height of the area. Write down these measurements, and add a few extra inches to each length to account for any mistakes or adjustments.
Step 3: Cut the Molding
Now that you have your measurements, it's time to cut the molding. Lay the molding on a flat surface and use your utility knife to score it along the cutting line. Then, snap the molding along the scored line. If you're using a more rigid molding, you might need a saw to make the cut. Just be careful and follow the manufacturer's instructions.
Step 4: Prepare the Wall
Before you start installing the molding, you need to prepare the stone wall. Clean the surface of the wall with a brush or a pressure washer to remove any dirt, dust, or debris. This will help the molding adhere better. If there are any cracks or holes in the wall, fill them with a suitable filler and let it dry completely.
Step 5: Apply Caulk
Take your caulk gun and load it with the silicone caulk. Apply a thin bead of caulk along the back of the molding where it will touch the wall. This will create a watertight seal and prevent water from seeping behind the molding. Make sure to apply the caulk evenly and smoothly.
Step 6: Install the Molding
Now it's time to install the molding on the wall. Start at one end of the wall and press the molding firmly against the wall, aligning it with the edge. Use your level to make sure the molding is straight. If it's not, adjust it until it is. Once the molding is in place, use your screwdriver or drill to attach it to the wall with screws or nails. Make sure to space the screws or nails evenly along the molding.
Step 7: Join the Molding Pieces
If you need to join two pieces of molding together, make sure to cut the ends at a 45-degree angle. This will create a seamless corner. Apply caulk to the cut ends of the molding and press them together firmly. Use a clamp or tape to hold the pieces in place while the caulk dries.
Step 8: Seal the Edges
After you've installed all the molding, use your caulk gun to apply a bead of caulk along the edges of the molding where it meets the wall. This will help to seal any gaps and prevent water from getting behind the molding. Smooth the caulk with your finger or a caulk smoothing tool for a neat finish.
Step 9: Clean Up
Once you're done installing the molding, clean up any excess caulk or debris from the wall and the molding. Use a damp cloth to wipe away the caulk, and a broom or vacuum to clean up any dust or debris.
Step 10: Inspect the Installation
Take a step back and inspect your work. Make sure the molding is straight, the joints are tight, and there are no gaps or cracks. If you notice any issues, make the necessary adjustments.
Why Choose Our Exterior Molding?
At our company, we take pride in offering high-quality exterior molding products. Our Plastic Side Skirt Trim Moulding is durable and lightweight, making it easy to install. The Rear View Mirror Mould adds a stylish touch to your vehicle's exterior. And our Roof Molding Mould is designed to withstand the elements.
We also offer a wide range of colors and styles to choose from, so you can find the perfect molding to match your home's exterior. Our products are made from high-quality materials that are resistant to fading, cracking, and warping, ensuring they'll look great for years to come.
Contact Us for Your Exterior Molding Needs
If you're interested in purchasing our exterior molding products or have any questions about installation, don't hesitate to get in touch. We're here to help you with all your exterior molding needs. Whether you're a DIY enthusiast or a professional contractor, we've got the right products and support for you.

References
- Home Improvement Handbook: A guide to various home improvement projects, including exterior molding installation.
- Molding Manufacturer's Instructions: Always refer to the instructions provided by the molding manufacturer for specific installation details.


